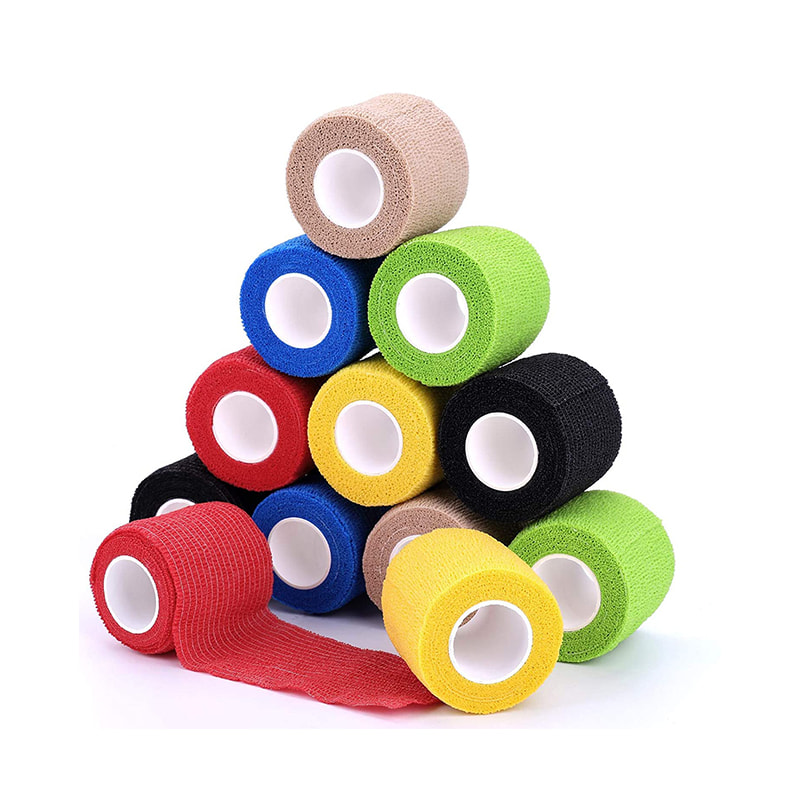
Best practices for applying athletic wraps to prevent injuries involve proper technique, material choice, and an understanding of the specific requirements for different body parts. Here are general guidelines and specific techniques for common injury-prone areas:
General Best Practices
Clean and Dry Skin: Ensure the area to be wrapped is clean and dry to prevent skin irritation and ensure the wrap adheres properly.
Padding: Use padding or underwrap to protect the skin and provide additional comfort.
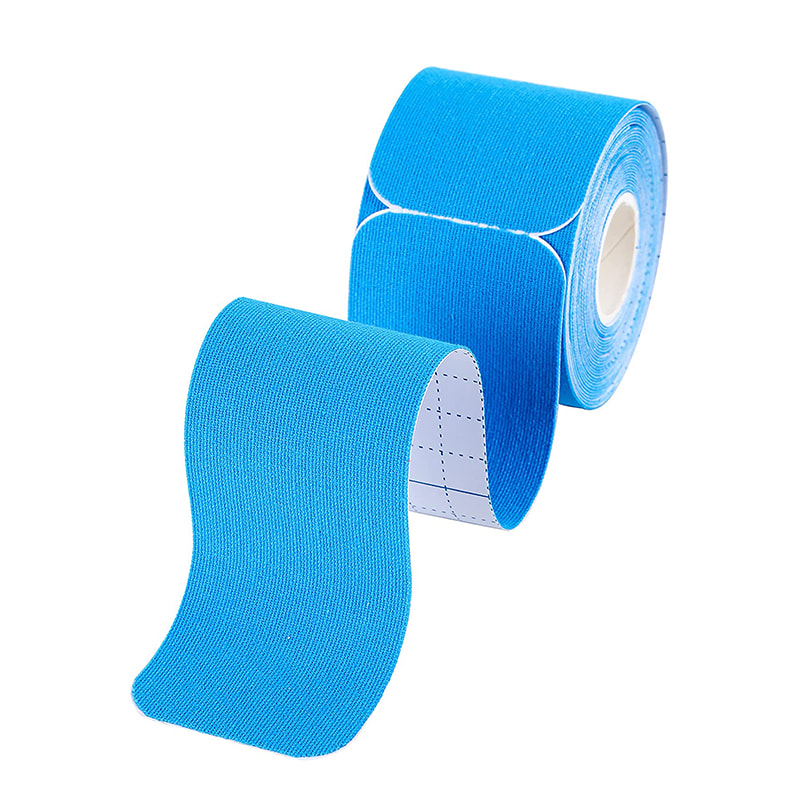
Proper Tension: Apply wraps with appropriate tension—tight enough to provide support but not so tight that it restricts blood flow or causes discomfort.
Overlap: Overlap each layer of the wrap by about half its width to provide even support and prevent gaps.
Check Circulation: After wrapping, check for signs of restricted circulation, such as discoloration, numbness, or increased pain. If any of these occur, rewrap the area with less tension.
Follow Anatomical Guidelines: Apply wraps according to the anatomical structure of the body part being wrapped to ensure effective support.
Specific Techniques for Different Body Parts
Ankle
Figure-Eight Method:
Start with an anchor wrap around the foot.
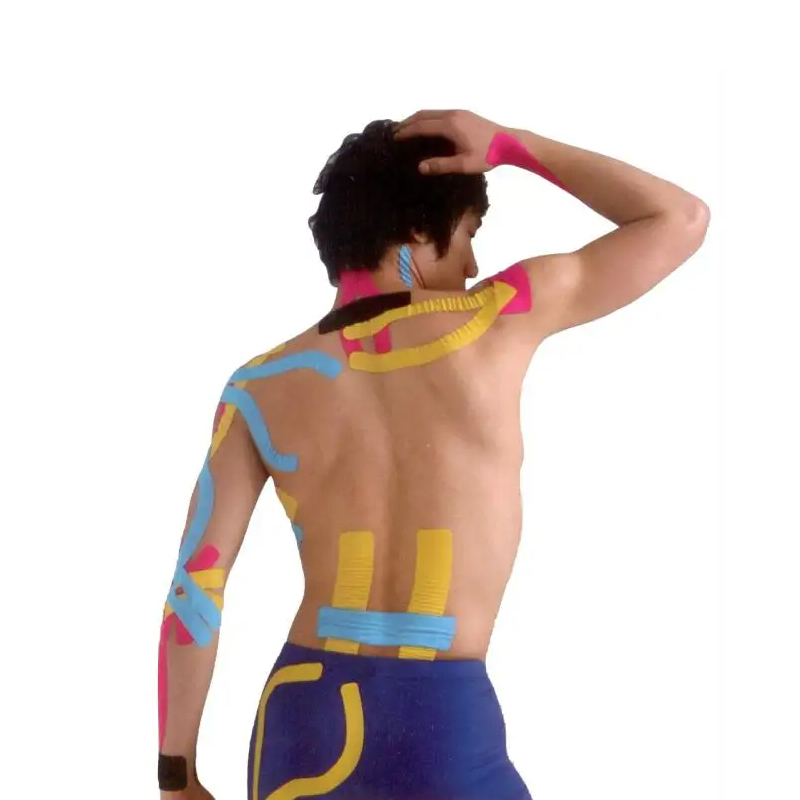
Bring the wrap diagonally across the top of the foot and around the ankle in a figure-eight pattern.
Continue wrapping in this pattern, ensuring each layer overlaps the previous one.
Finish with a circular wrap around the ankle.
Heel Lock Method:
Begin with a few circular wraps around the lower leg, just above the ankle.
Bring the wrap down and around the heel, crossing over the foot.
Continue wrapping in a figure-eight pattern, locking the heel in place.
Wrist
Circular Wrap:
Start with an anchor wrap around the wrist.
Wrap in a circular motion, covering the wrist and extending slightly up the forearm.
Ensure even pressure and overlap each layer.
X-Pattern Wrap:
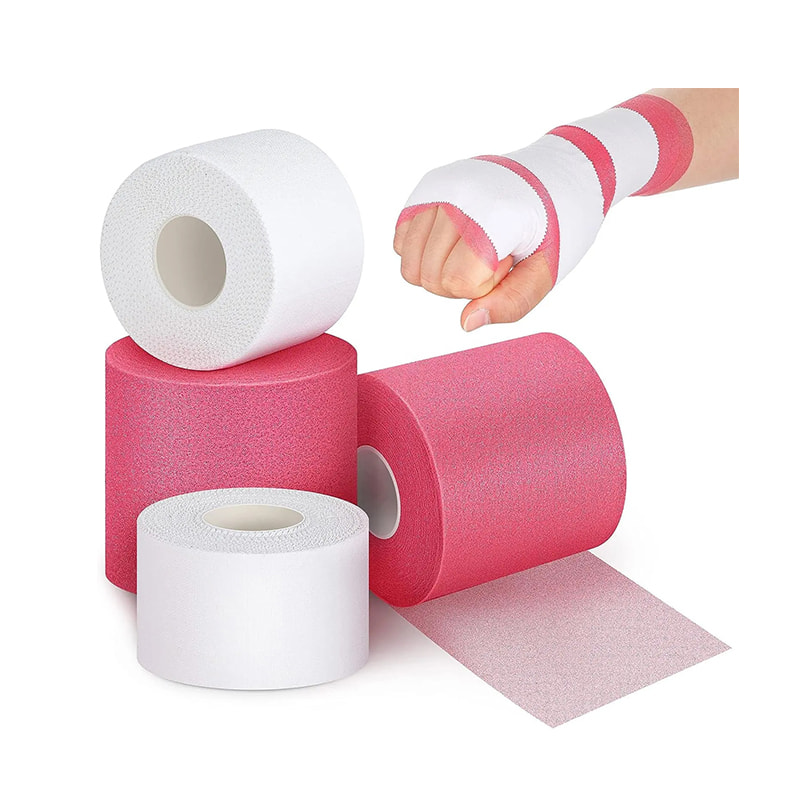
Begin with a few circular wraps around the wrist.
Bring the wrap diagonally across the back of the hand, around the palm, and back to the wrist.
Repeat this pattern to create an "X" on the back of the hand, providing additional support.
Knee
Spiral Wrap:
Start with an anchor wrap below the knee.
Wrap in a spiral motion up the leg, covering the knee and extending above it.
Overlap each layer and ensure even pressure.
Figure-Eight Method:
Begin with a few circular wraps below the knee.
Bring the wrap diagonally up and around the knee, forming a figure-eight pattern.
Continue wrapping in this pattern, ensuring each layer overlaps the previous one.
Additional Tips
Use Pre-Wrap: Consider using a pre-wrap or underwrap to protect the skin and make removal easier.
Secure the End: Use adhesive tape or clips to secure the end of the wrap to prevent it from unraveling during activity.
Recheck and Adjust: Periodically check the wrap during activity to ensure it hasn't shifted or become too tight.
Properly applying athletic wraps using these techniques can help prevent injuries by providing the necessary support and stability to vulnerable joints and muscles.

 English
 Español
 русский
 Français
 Deutsch
 By Admin


